
THE PHOTONIC TRAIL: A QUANTUM OPTICS TREASURE HUNT
1. Parihaven: Sources and Detectors
In this mission you will start your journey in the magic world of the Photonic Trail, and at the same time you will also learn about sources, detectors, and a few more components in Quantum Flytrap’s virtual lab.
Are you ready?
(Keep scrolling to reveal all the content or use the buttons to jump.)
‼️ At the moment, The Photonic Trail is playable on large-screen devices only.
If you wish, you can use the audiobook option to listen to the story on your mobile device, but the mission can only be performed on a larger screen.
The Story
In the heart of the Enchanted Realm, your quest for the legendary Hilbert Spade drives you forward. This mythical artefact, long hidden from the world, awaits only one deemed worthy—a true Master of Light.
To earn that title, you must journey along the treacherous Photonic Trail, where each trial you conquer brings you closer to unlocking the Spade’s ability to bend space and time.
Your journey starts here. Good luck, traveler!
To enhance your adventures in Parihaven, we recommend playing this audio while you read:
The Mission
Welcome to your first mission in the Photonic Trail!
In the virtual lab below, you will use sources, detectors, and all you learn to settle the quarrel between the two fairy families!
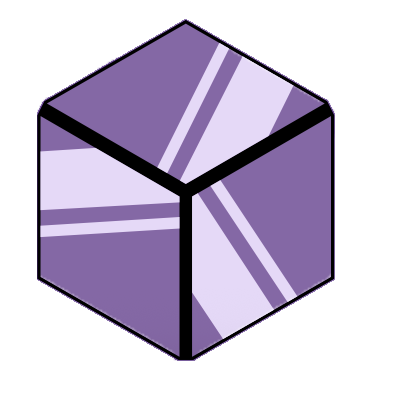
We have prepared the optical table and have already provided you with 4 components: the Cube, the Polarising Beam Splitter, the Absorber, and the Rock, which you can find at the bottom of the table labelled as "Components to use".
To make the fairies happy, you will need to place the said components on their respectively rightful locations on the Lab (Position 1, Position 2, Position 3, Position 4) and see how they affect light beams and detectors. Each component has only one correct position set by the fairies.
You can play around and experiment with the components as much as you like! Shall you need more hints to solve the mission, or if you are curious to know more about the components you see in the virtual lab, scroll down to the dedicated Lab section.
Let’s start the hunt!
Mission 1
Where should each of the four components go such that:
Detector 1 is crossed twice (100% on Detector 1 and 100% on crystal),
Detector 2 has 0%,
Detector 3 has 25%,
and the mine is 50% activated?
Small hint 🕵️♂️: set the optical table on Beam mode, in the left panel
Need more physics?
In the Lab section you will find extensive explanations on how each component works in the virtual lab, and how they look like in a real quantum lab. Press the button below to jump right into it.
Mission solved?
If you have found the solution for your first mission, well done!
You can now prove your worth to the fairies: use the interactive image below to reproduce the components' locations in the experimental table.
Just like you did in the virtual Lab up there, drag each component to its rightful position (Position 1 to Position 4), and submit your answers.
The correct settings shall reward you with the passcode to access the next mission.
‼️ Attention! At this moment, your progress is not being saved in storage, so we recommend you take notes (in a safe place!) of your location/current mission and secret codes you earned along your journey!
Place the components in the same configuration as you did in the virtual lab
‼️ Remember to take note of your newly acquired passcode.
The Lab
Welcome to the section dedicated to exploring all the components used in the virtual lab and their role in a quantum optics lab.
The (Photon) Sources
In order to play with light, we need some light sources. That is, devices that emit light. In the virtual lab there are 2 different light sources, and both of them are on your experimental table.
The Detectors
Light is made up of small building blocks called photons. A photon detector registers whether photons have arrived where the detector is placed, which in turn allows us to register experimental results, and to test and observe quantum mechanics predictions. What’s truly cool is that we can not only detect a bunch of photons, we can detect even a single photon! Think about that for a moment. We can see beams with our eyes, but we cannot see a single photon! For a detector to be able to do this is truly astounding.
In Quantum Flytrap’s virtual lab, there are four different detector types: a simple detector, an omnidirectional detector, a non-demolition photon detector, and a mine.


It does resemble the previous one, right? In fact, to get an omnidirectional detector, you just need to grab a simple detector from the element panel, right-click on it and tick the box "Detect all directions", and there you have it! Just as the name suggests, it is now capable of detecting light coming from every direction.

Detector percentages
In Quantum Flytrap’s Beam mode, the percentage above each detector shows how much light emitted from a source ends up at that detector. The amount of light a source emits is always considered 100%. However, something usually occurs during the light beam’s travel, and that’s why we don’t always see the total emitted light arriving at the final detectors. A detector may have, say, 37% above it, which means only 37% of the photons emitted by the light source have arrived at the detector.
The Four Components
The light-travel is determined by the other optical elements: let’s explore them!
We’ve picked four components for you to play with, so you can see just how they affect the light beams. Incidentally, these are the four components the fairies have statuettes of in their clearing!


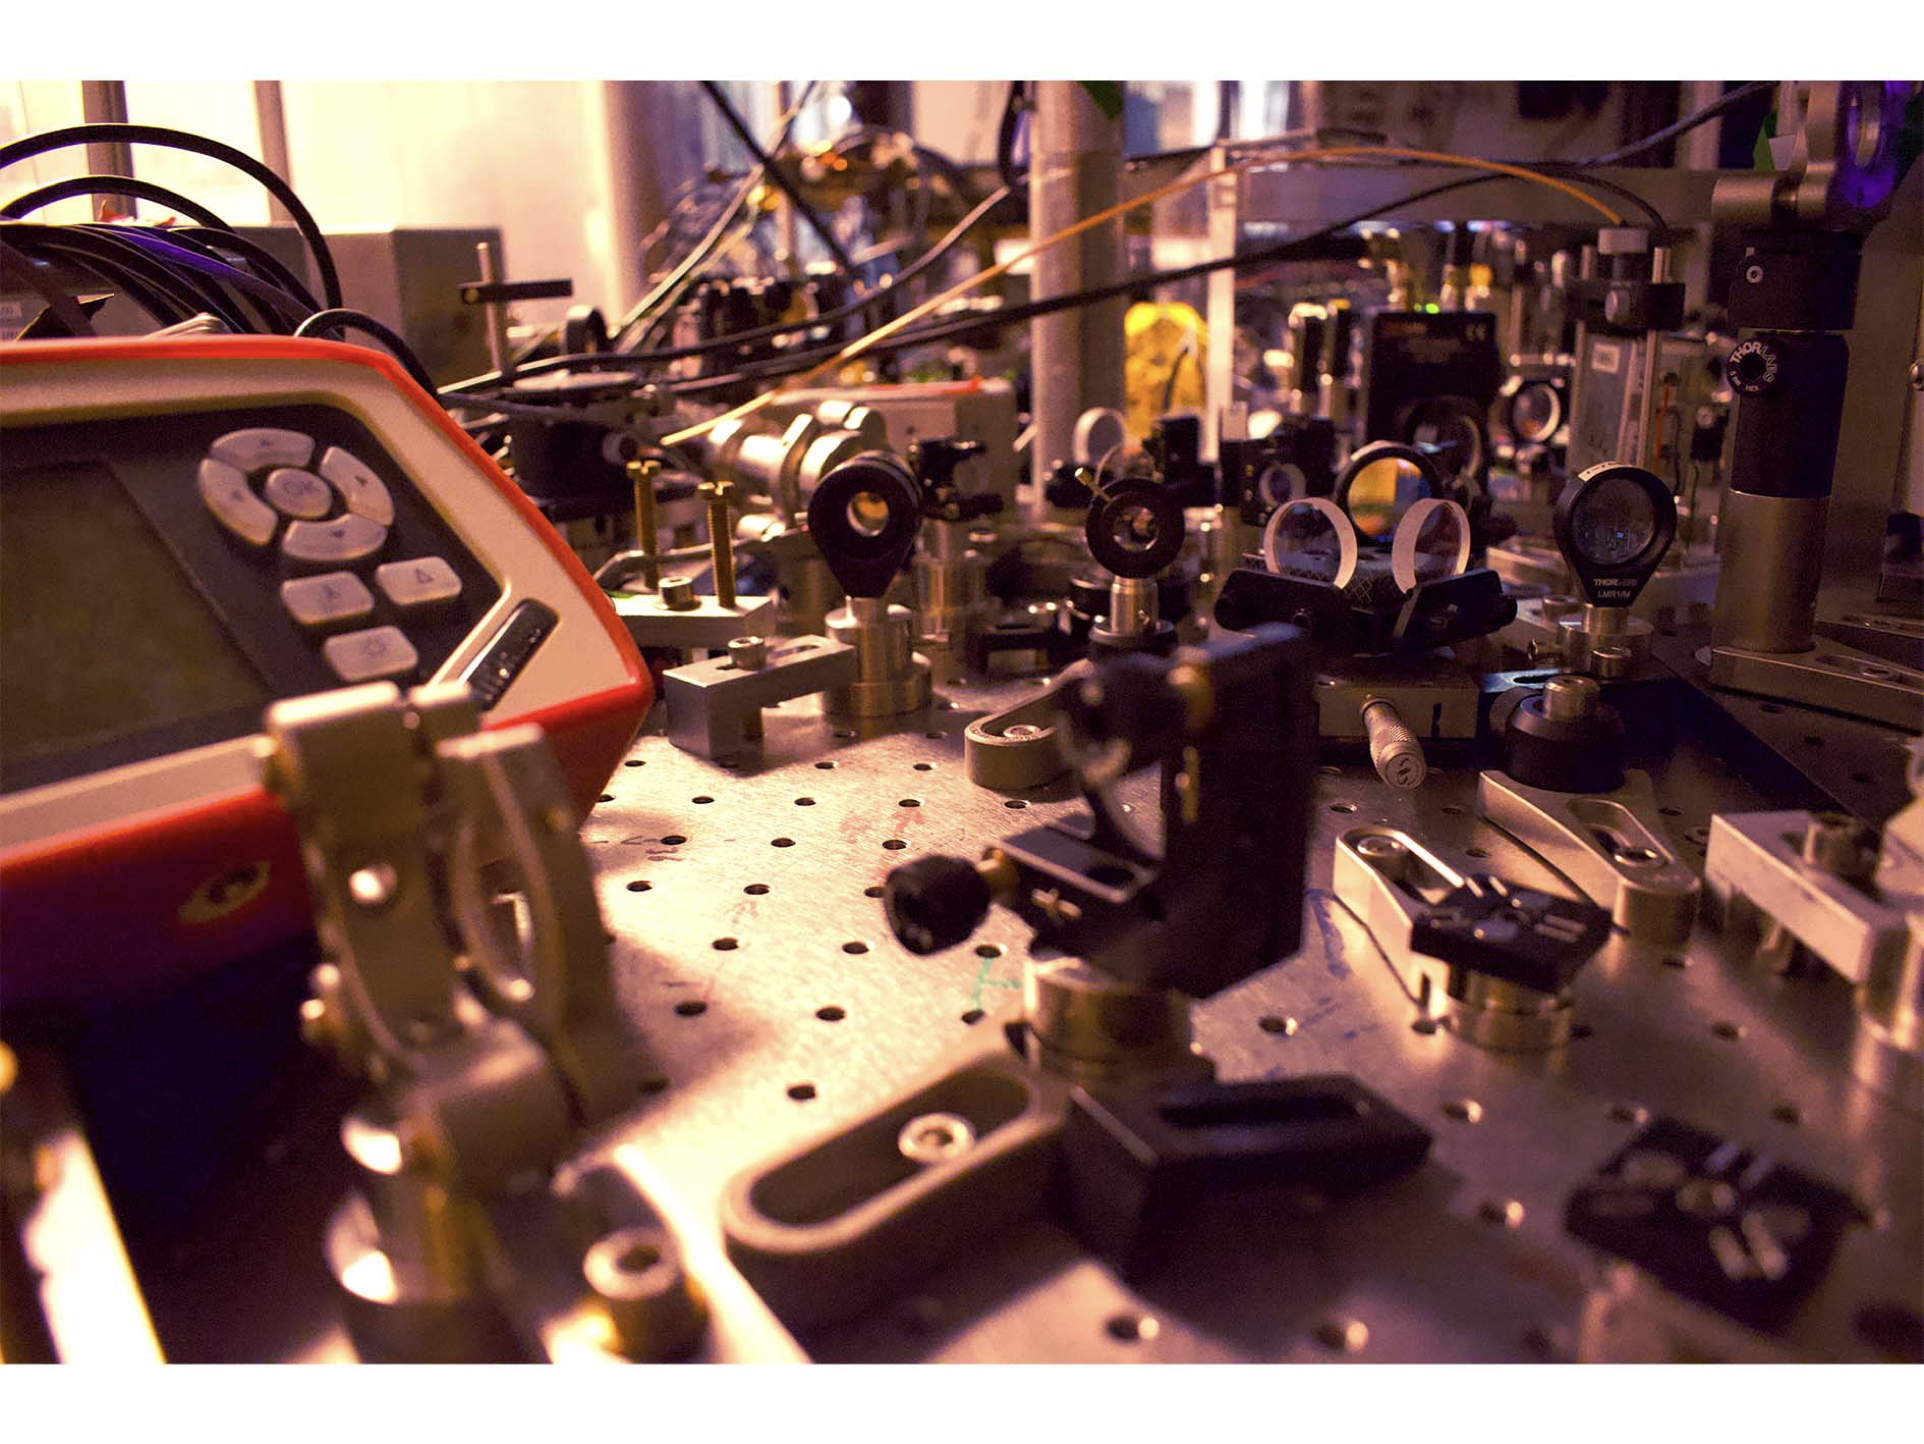
Into the REAL Lab
The Quantum Flytrap's virtual lab has been based on a real virtual optics lab.
In this section you will be able to explore a real optics lab, and see for yourself that what you learned in the virtual lab is actually used in a real laboratory for several research and applications.
Get ready to explore the Optical Table and some of the components used in a real quantum optics lab, as shown by Dr. Francesca Sansavini from the University of Oregon in the video below.
As Francesca mentioned in the clip above, you can fix all optics components you need on an optical table. Get an up-close look at some of the elements mentioned in the video.
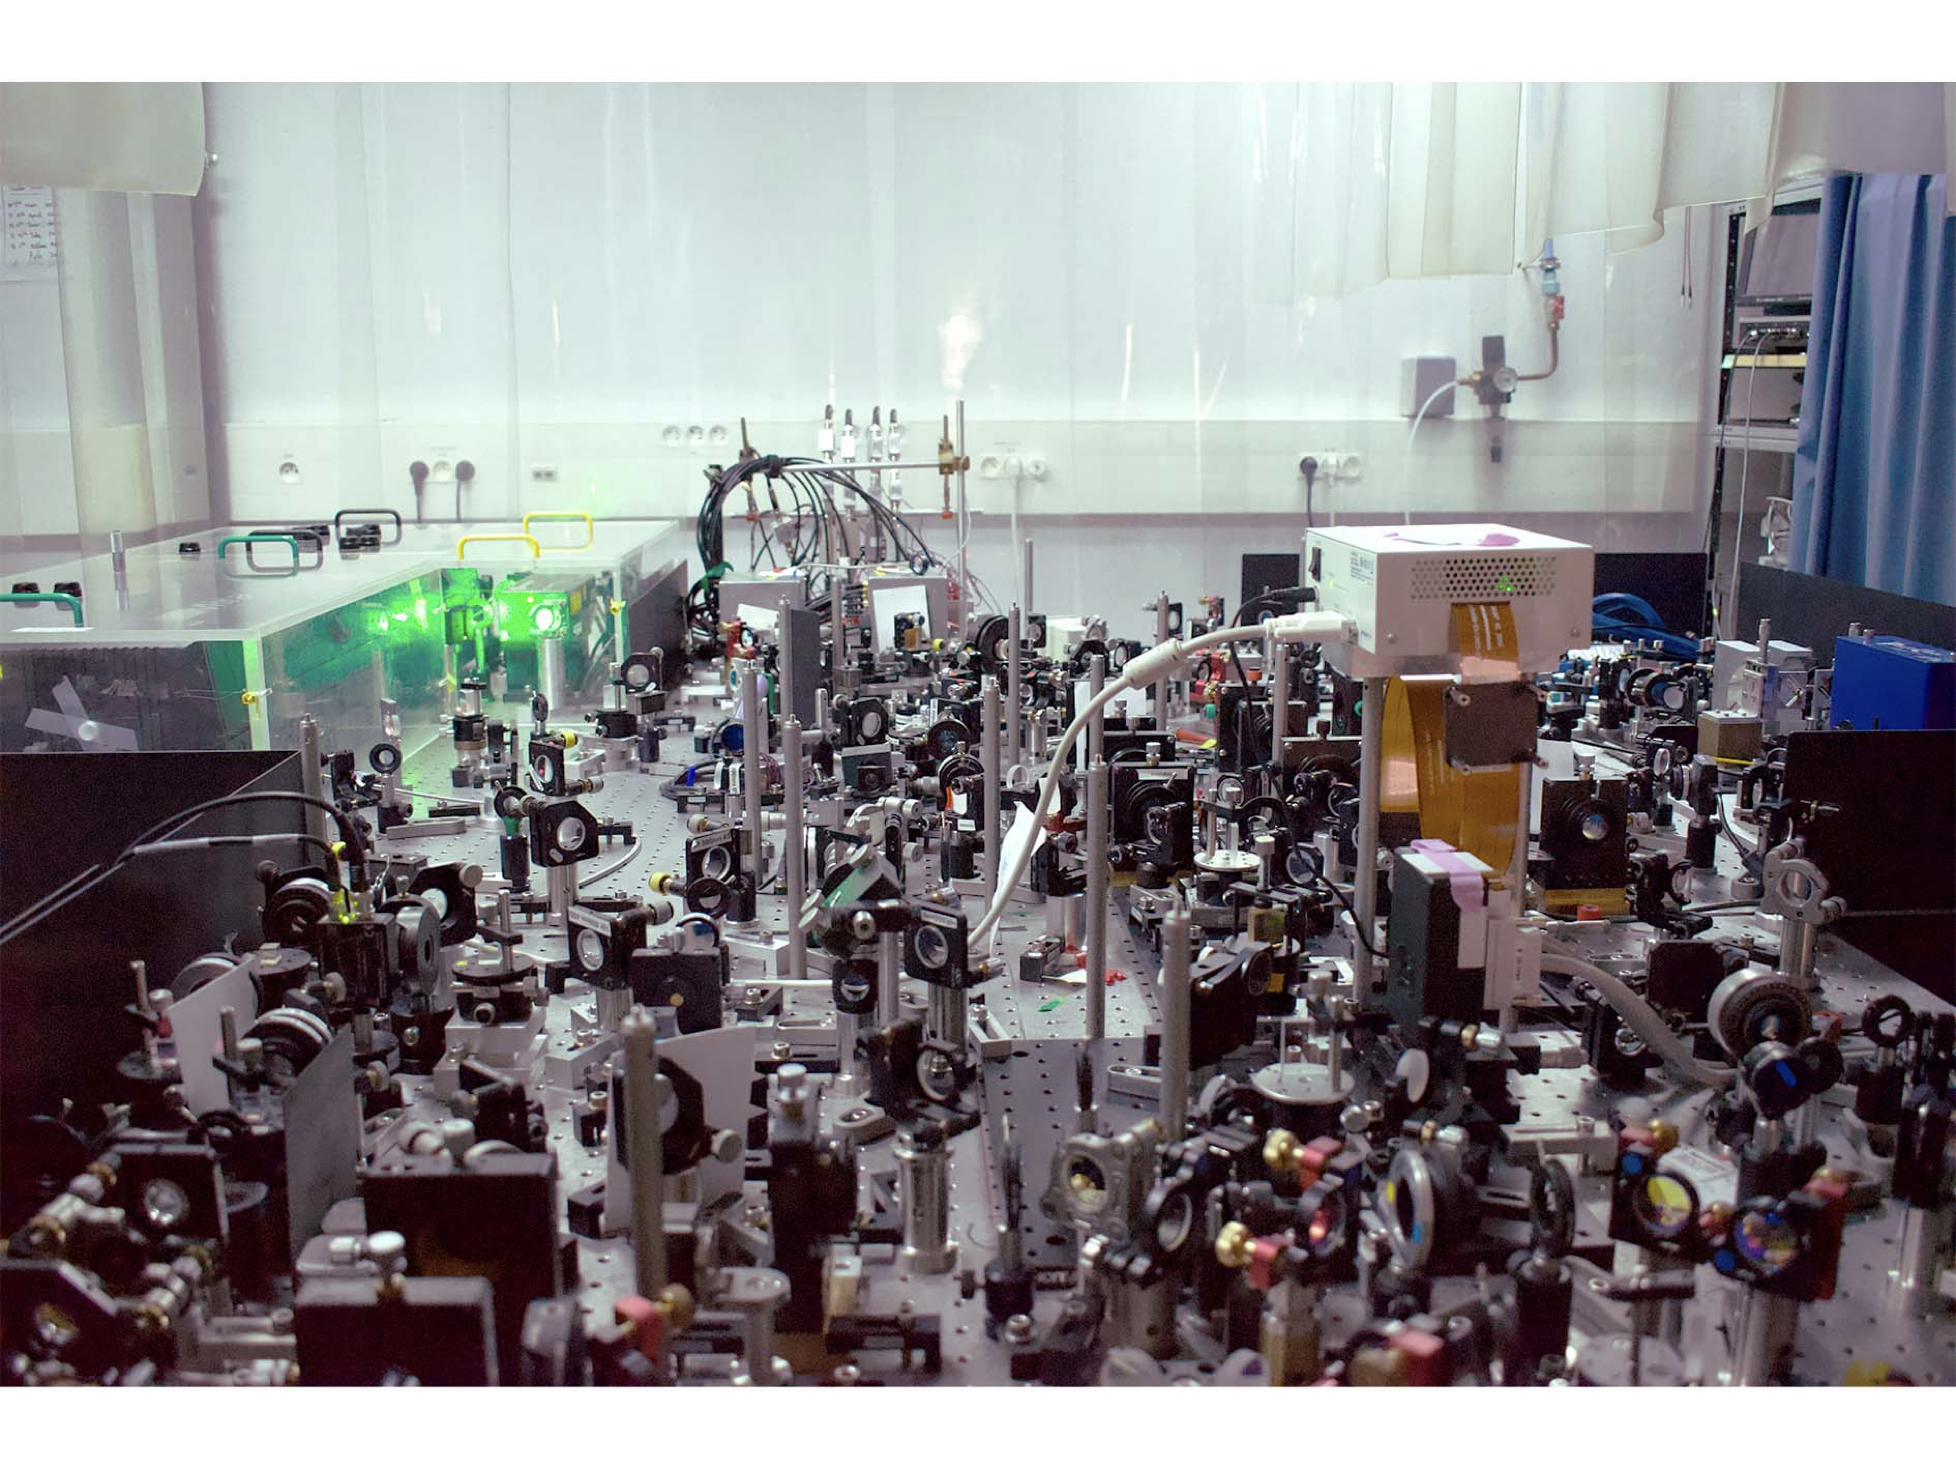
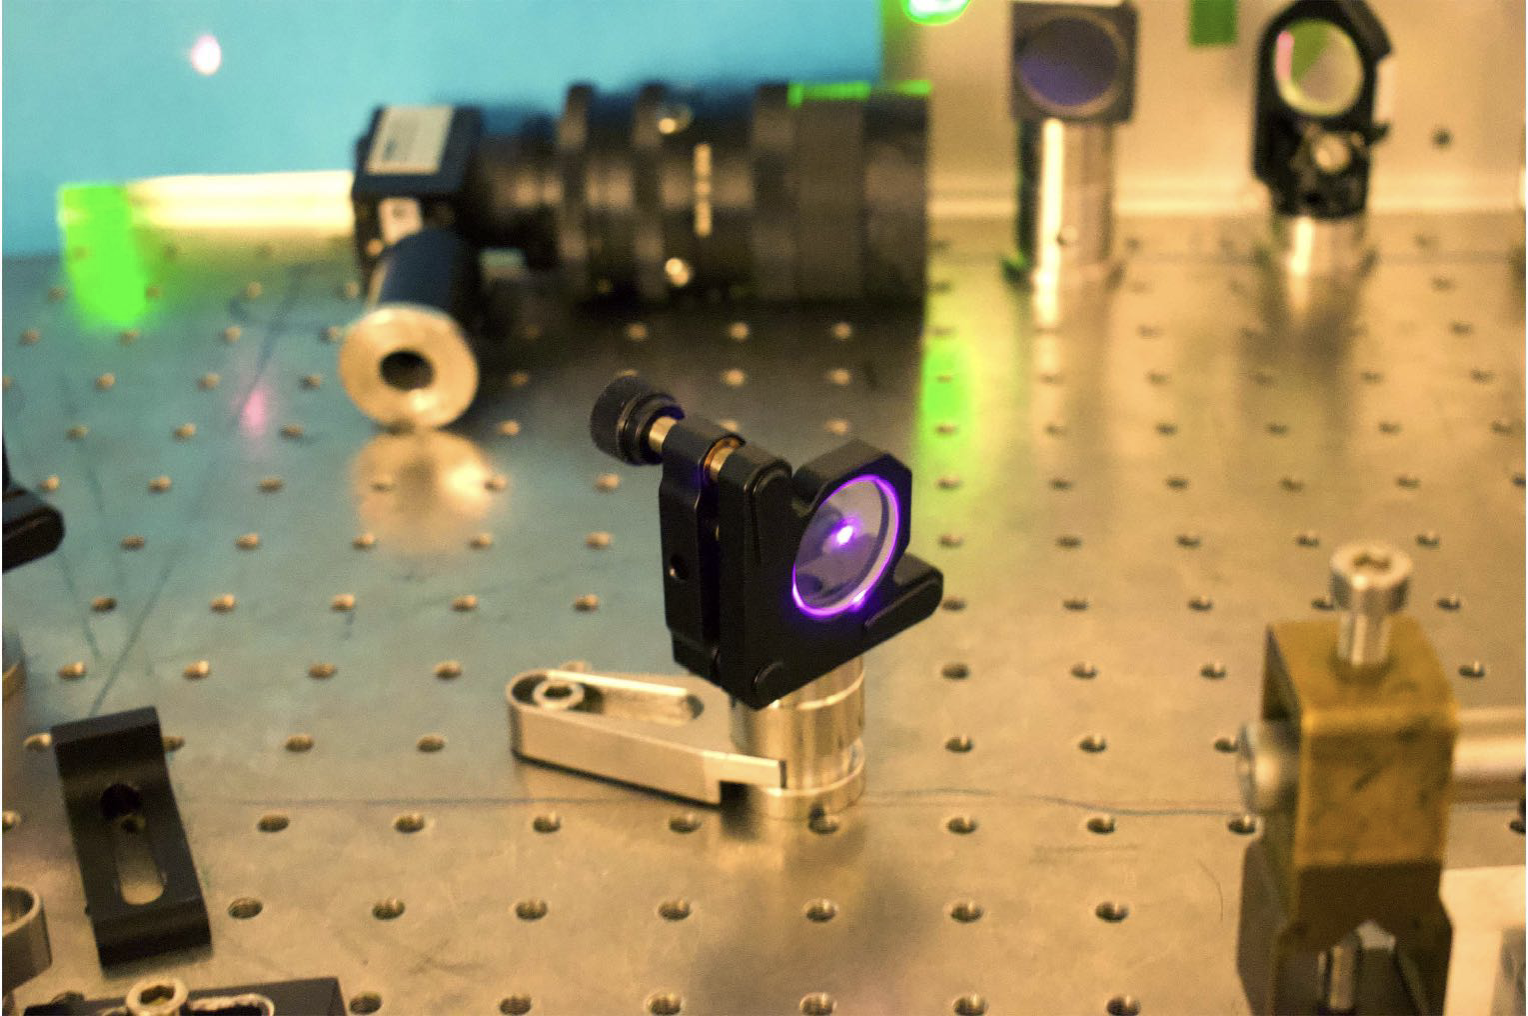
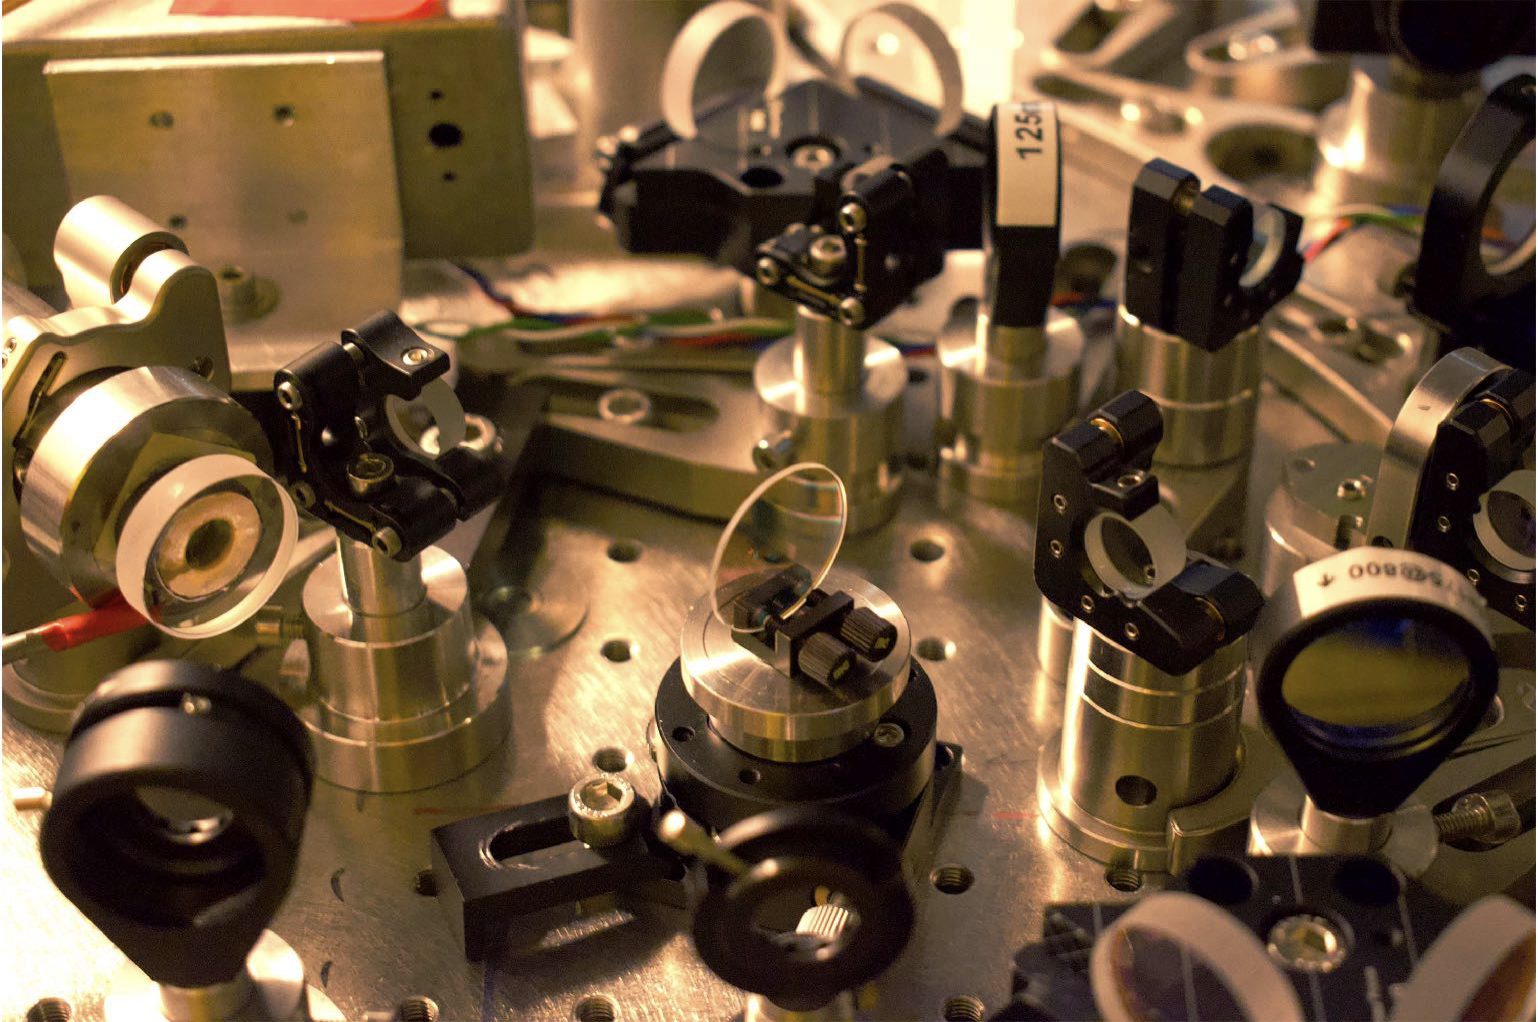
Now that you've got an idea of how many components can be a part of the optical table, let's get a closer look at one of them, as shown by Francesca in the video below.
The optical table in a quantum optics lab can have more elements than mirrors, sources and detectors, right as we saw in the virtual lab.
Carry on in the Photonic Trail to find out more about the other wonders of quantum optics!
Now you know everything about the Lab and its components for Mission 1!
If you want to go back to the Mission, click the button below and jump back up to where the magic really happens!
If you're ready to resume your seek for the Hilbert Spade, get your passcode ready and click on the book below to continue your journey into The Neverwood!
Onto the next mission you go, traveler!

If you want to go back to the Photonic Trail Home Page, click the button below
Contact
Social
Menu
© 2020-2026 Algorithmiq QPlayLearn. All rights reserved.